Retouching: How I edited my photos three years ago by Leung-Kit To

When writing this post, I was a bit hesitant whether I would actually post it. I think it's good to look back at old workflows to see how you've changed, what has gotten better or worse - then develop further from that.

I get asked about retouching a lot. My retouching workflow is fairly basic, a bit of skin/hair retouching and then messing around with the tones of the image.

There are two ways to edit a photo; destructively, and non destructively. In both videos, I edited them destructively. For example, when I was retouching the skin I was using the Spot Healing brush on just a duplicated layer (I tend to make lots of duplicated layers, sort of like a video game quicksave).

What I do now, is edit skin through Frequency Separation. FS allows the photo to be edited by either colour or detail - which is what a photo is made of, detail and colour. When retouching spots, I tend to edit the colour/tone layer (low frequency) before the detail one. I do this because a spot might just be visible due to its redness. Blending colour is easier than blending the details of the skin. 

This post isn't meant to be a guide, I just wanted to share how I previously edit. The video pretty much breaks down how I edit. I'll most likely make an updated video soon, and hopefully an improvement will be clear!

Places to shoot in London #2: Cafes (The Grind) by Leung-Kit To

Sophie, shot at Soho Grind

Sophie, shot at Soho Grind

Eyes may be the windows to the soul, but windows are brilliant to shoot through. I have no clue where I was going with that sentence, but I've decided to keep it in.

This addition to the Places to Shoot in London series is focussing on Cafes, specifically the Grind cafes scattered around London. Why am I focussing on Grind cafes specifically? I wish this post was sponsored. In seriousness, their cafes are located in really great shooting locations - so I often set them as my meeting point and my first location of the day. For example, the Soho Grind is just minutes away from a really dope Thai restaurant, and a little further from a really photogenic Five Guys.

The Grind's interior have beautiful rustic looking wood, and are usually illuminated by a tongue in cheek neon sign (the Holborn Grind's neon sign is located at the back, and you can get a beautiful shot of someone sitting below it!).

What I love the most about these cafes is not just the amazing coffee aromas, instead the large open windows. They're an excellent layer to shoot through, and provide beautiful reflections, which you can manipulate. 

Kacey, shot at Holborn Grind

Kacey, shot at Holborn Grind

Sophie, shot at Holborn Grind

Sophie, shot at Holborn Grind

Jenny, shot at Shoreditch Grind

Jenny, shot at Shoreditch Grind

Emma, shot at Shoreditch Grind

Emma, shot at Shoreditch Grind

Composition Techniques: Foreground, Middle, and Background by Leung-Kit To

Evie

Evie

Foreground, Middle, and Background

The space within a photograph can be divided into three planes, the foreground, the middle, and the background. This is fairly straight forward; the foreground is the area in the photo closest to the camera, and the furthest is the background - everything in between is the middle.

Generally people look at the foreground first. It's important to consider this when you're composing your photo. What’s in the foreground can add depth to the photo, decide on how much depth you want or if you need depth to make your photo work. With landscapes, you can try and spot an interesting rock, flowers, etc to compliment the scenery you're photographing. With portraits, I find having the subject in the middle and blurring a something like a fence adds a nice touch of softness to the photo. Here's an example of this in action; example.

Don't be afraid to break the norm when focussing on the foreground, middle, or background. Especially when shooting on the street. I found that out when I was on the streets shooting a model, there could something even more interesting in the background - like in my photo with Evie.

Here are some more creative examples; example 1, example 2, example 3, and example 4

Kelly

Kelly

Barbican Conservatory

Barbican Conservatory

Getting Started: Retouching with Adobe Lightroom by Leung-Kit To

Screen Shot 2018-06-07 at 15.51.19 copy.jpg

Some photographers believe that pressing the shutter is just half of the photo, the other half comes from retouching. I'm one of those people. Even if I'm shooting for an event or passing the photos on to be used for digital manipulations, I like to retouch the photos to a standard I'm happy with. Never give away your RAWs (for free).

I'm going to be making a post about how I retouch my photos and how I get the colours at a later date. This post is just a baseline guide for retouching. I'll be breaking down key software, and terminology you should know.

Software you should be using:

  • Adobe Lightroom (or Capture One)
  • Adobe Photoshop

Lightroom and Photoshop are included in the Adobe CC Photography package for £9.98/monthly or £119.21/yearly.

This post is focussed on retouching photographs through Adobe Lightroom.

1.png


White Balance (Temp & Tint):

Depending on your camera settings, when you take a photograph the camera will decide the white balance of the photo. When shooting with different types of lights or weather the white balance will vary. For example, shooting indoors with Tungsten lights the photos will come out warmer. To ensure correct white balance in this situation, you will have to make the photo cooler by dragging the slider to the left (to a lower kelvin), or use some of Adobe Lightroom's built-in Presets. 

The tint is similar to the temp setting, it enables you to tweak the colours even more by making the photo more green or purple.

To ensure the correct white balance easily, I recommend shooting with a grey card, then using the eye dropper tool and clicking on an area of the photo that's white or grey. If you don't have a grey card, you can photograph something that is white (e.g. a t-shirt) and use the eye dropper on that instead.

Exposure:

The exposure slider artificially changes the exposure to the photo. Similar to how your camera shoots, it will let you do fine adjustments by exposure stops. This tool is limited by your camera's capabilities and the file format. For example if I take a photo I've shot on my phone in JPEG format and increase the exposure, the quality won't be as great - artifacts will appear, and highlights will be blown out. As opposed to a RAW file from the D850, I will be able to increase or lower the exposure a lot more due to the manipulability of a RAW file and the dynamic range of the camera. Keep this in mind when shooting. Think about how much detail you can recover and adjust your shooting style to that.

Contrast:

The contrast slider determines how bright the bright areas of your photo are, and the shadows of the shadow areas. If you increase the contrast, it will make the bright areas brighter, and dark areas darker. If you decrease the contrast it makes the brighter areas darker, and the darker areas brighter - thus removing contrast. Lowering the contrast can be useful sometimes, for example if you're shooting with very harsh shadows, but bare in mind how far you go because you can end up with a washed out photo or you'll be losing a lot of detail.

Highlights & Whites:

This slider is similar to the contrast slider. The highlights & whites let you tweak the bright areas respectively, in a much more fine way. For example, you can bring back detail from the brightest areas of the photo by moving the highlight slider to the left. The whites slider sets the ‘white point’ - the true whites in a photo. 

Shadows & Blacks:

Like the opposite of the highlights & whites sliders. You can bring back detail from the darkest areas of the photo by moving the shadows slider to the left. The blacks slider sets the ‘black point’ - the true blacks in a photo. 

Clarity:

The clarity slider adds/removes detail into a photo, by affecting the midtones - as opposed to the contrast slider which affects highlights and shadows. I found it difficult to explain how it does what it does, so I'm going to quote a piece from Photographylife.com

"This tool mostly affects the transition between light and dark portions of the image (makes it less or more sudden, defined) and visibly alters the micro-contrast of the photograph. If changed extremely, it can also have a slight effect on the overall contrast of the image and shift the color somewhat. When set to a high setting it will make any shapes or forms more defined, starting with small, like skin imperfections, and ending with much bigger ones, like highlights in the background (the circles of bokeh)."

Vibrance:

The vibrance slider affects the colours in the photo. By moving the slider to the right, it will increase the vibrancy of the colours. The vibrance slider mainly affects muted colours, and not so much the saturated colours in the photo. If you were to move it all the way to the right, you may end up seeing colours that you didn't notice before. For example a white t-shirt might have a tiny shade of blue due to light reflecting from a wall. The vibrant colours from this slider is also affected by the white balance settings, so keep this in mind.

Saturation:

The saturation slider is fairly similar to the vibrance slider. Except it affects all the colours in the photo, not just the muted colours. Be careful not to overdo the saturation slider, else you'll end up with unrealistic colours, or extremely orange subjects.


All in all, these sliders might seem very basic, but every photographer should know or be using them. I recommend finding a photograph you love, and play about with the sliders (white balance, whites/blacks, etc) and try and replicate the effect. The more you use these tools, the more possibilities you can create with your photos.


Composition Techniques: Vantage Point by Leung-Kit To

Newport Street-2.jpg

Vantage Point


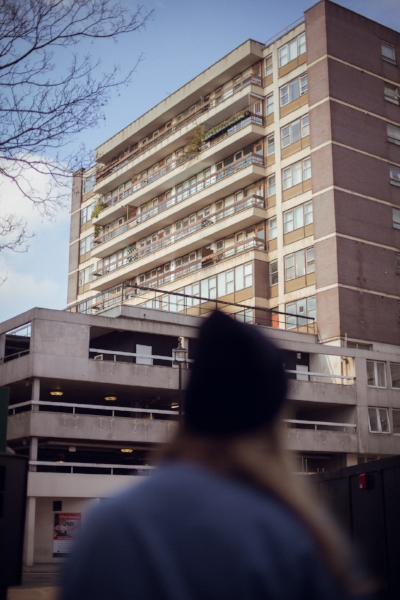
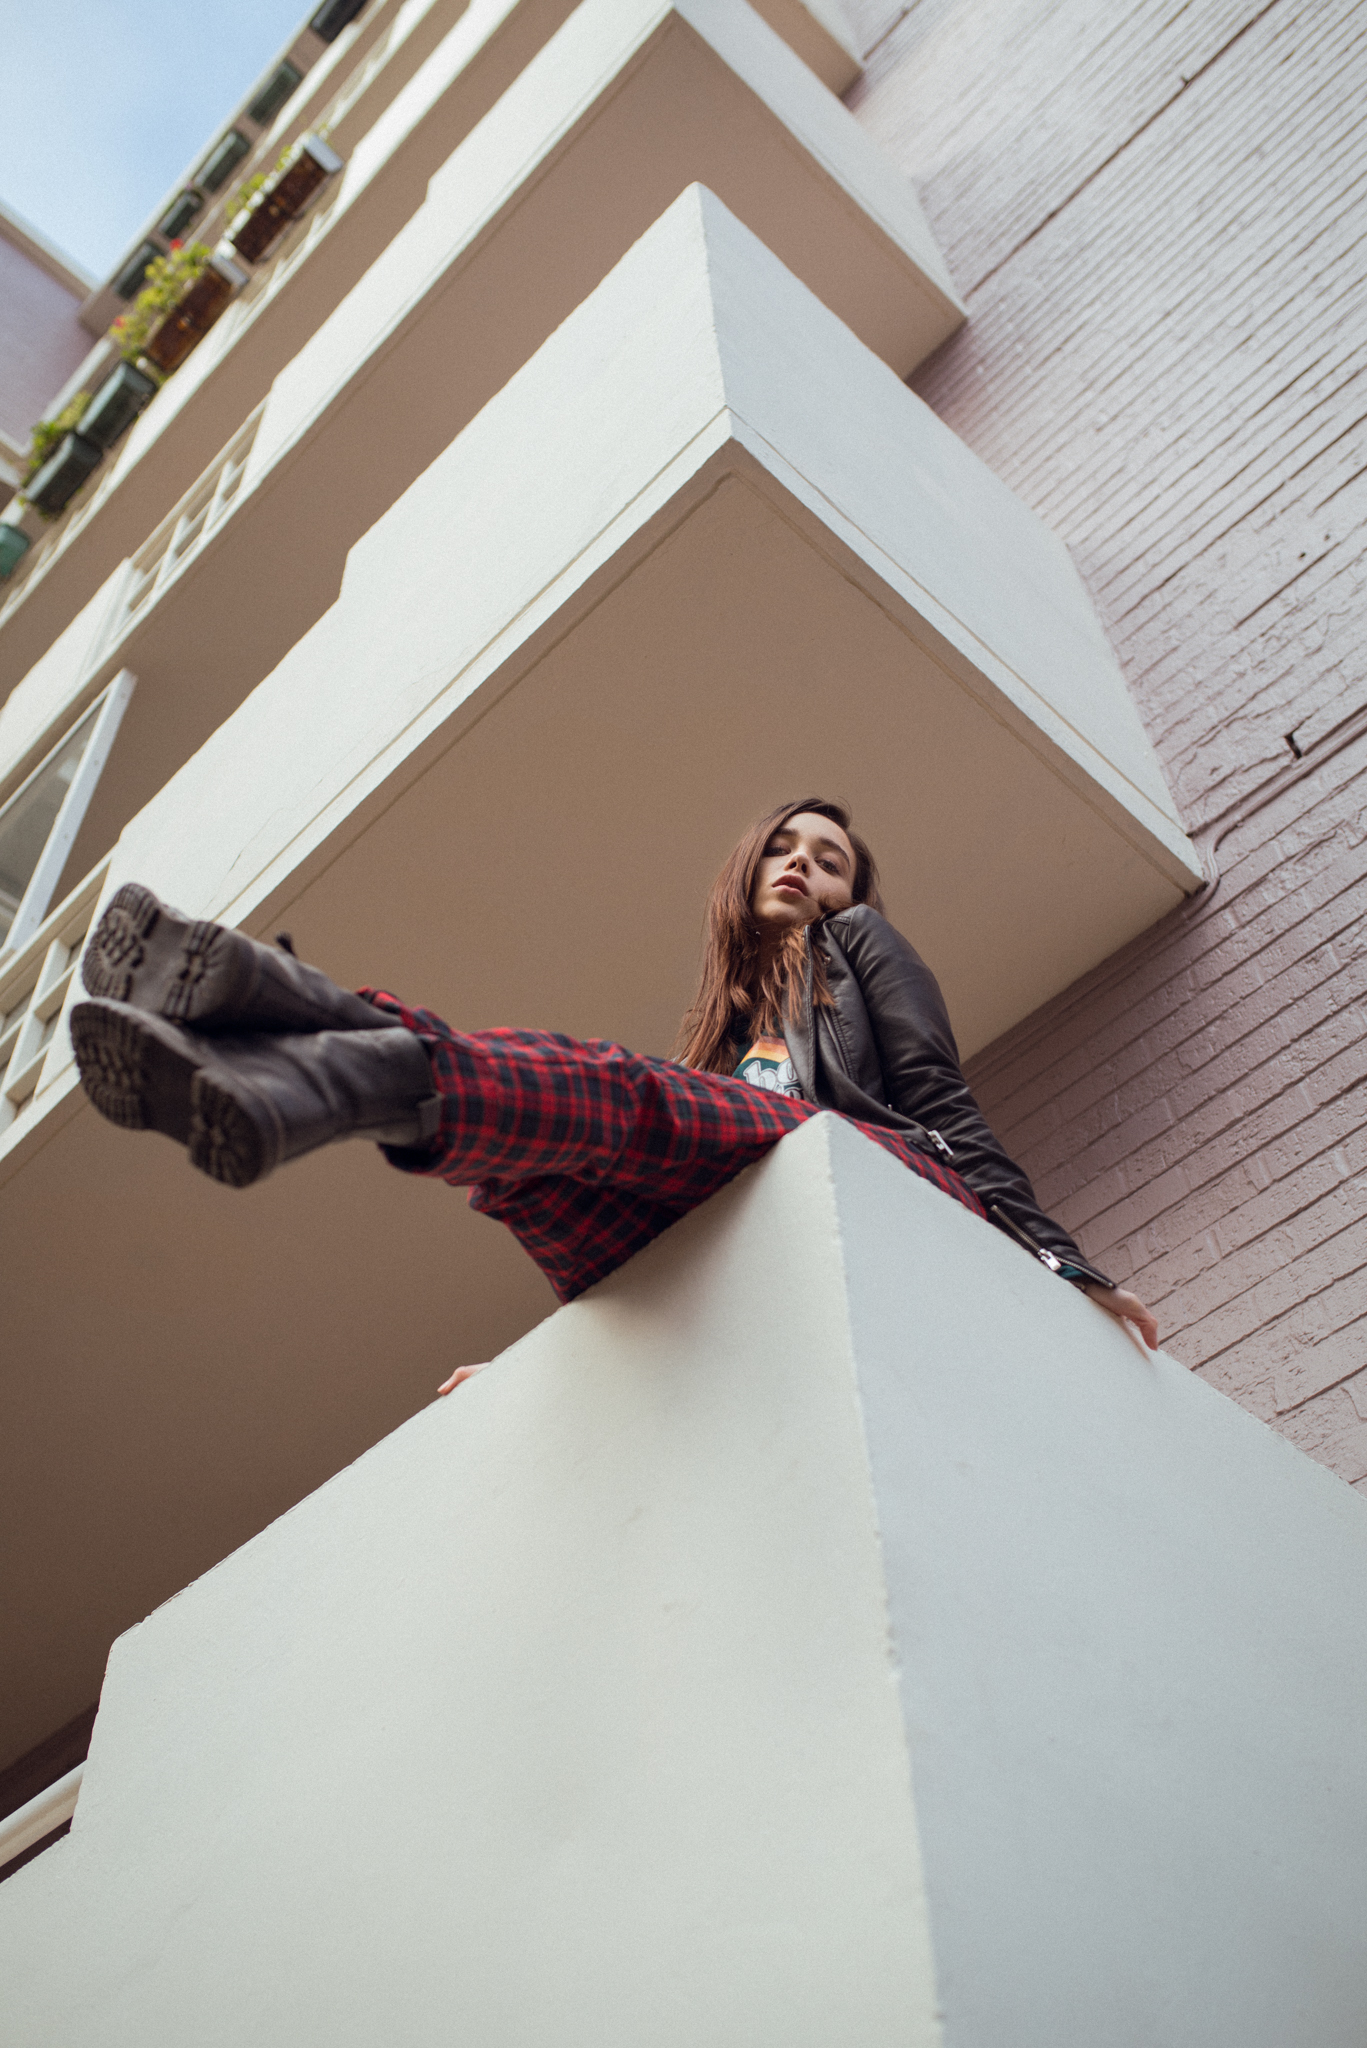
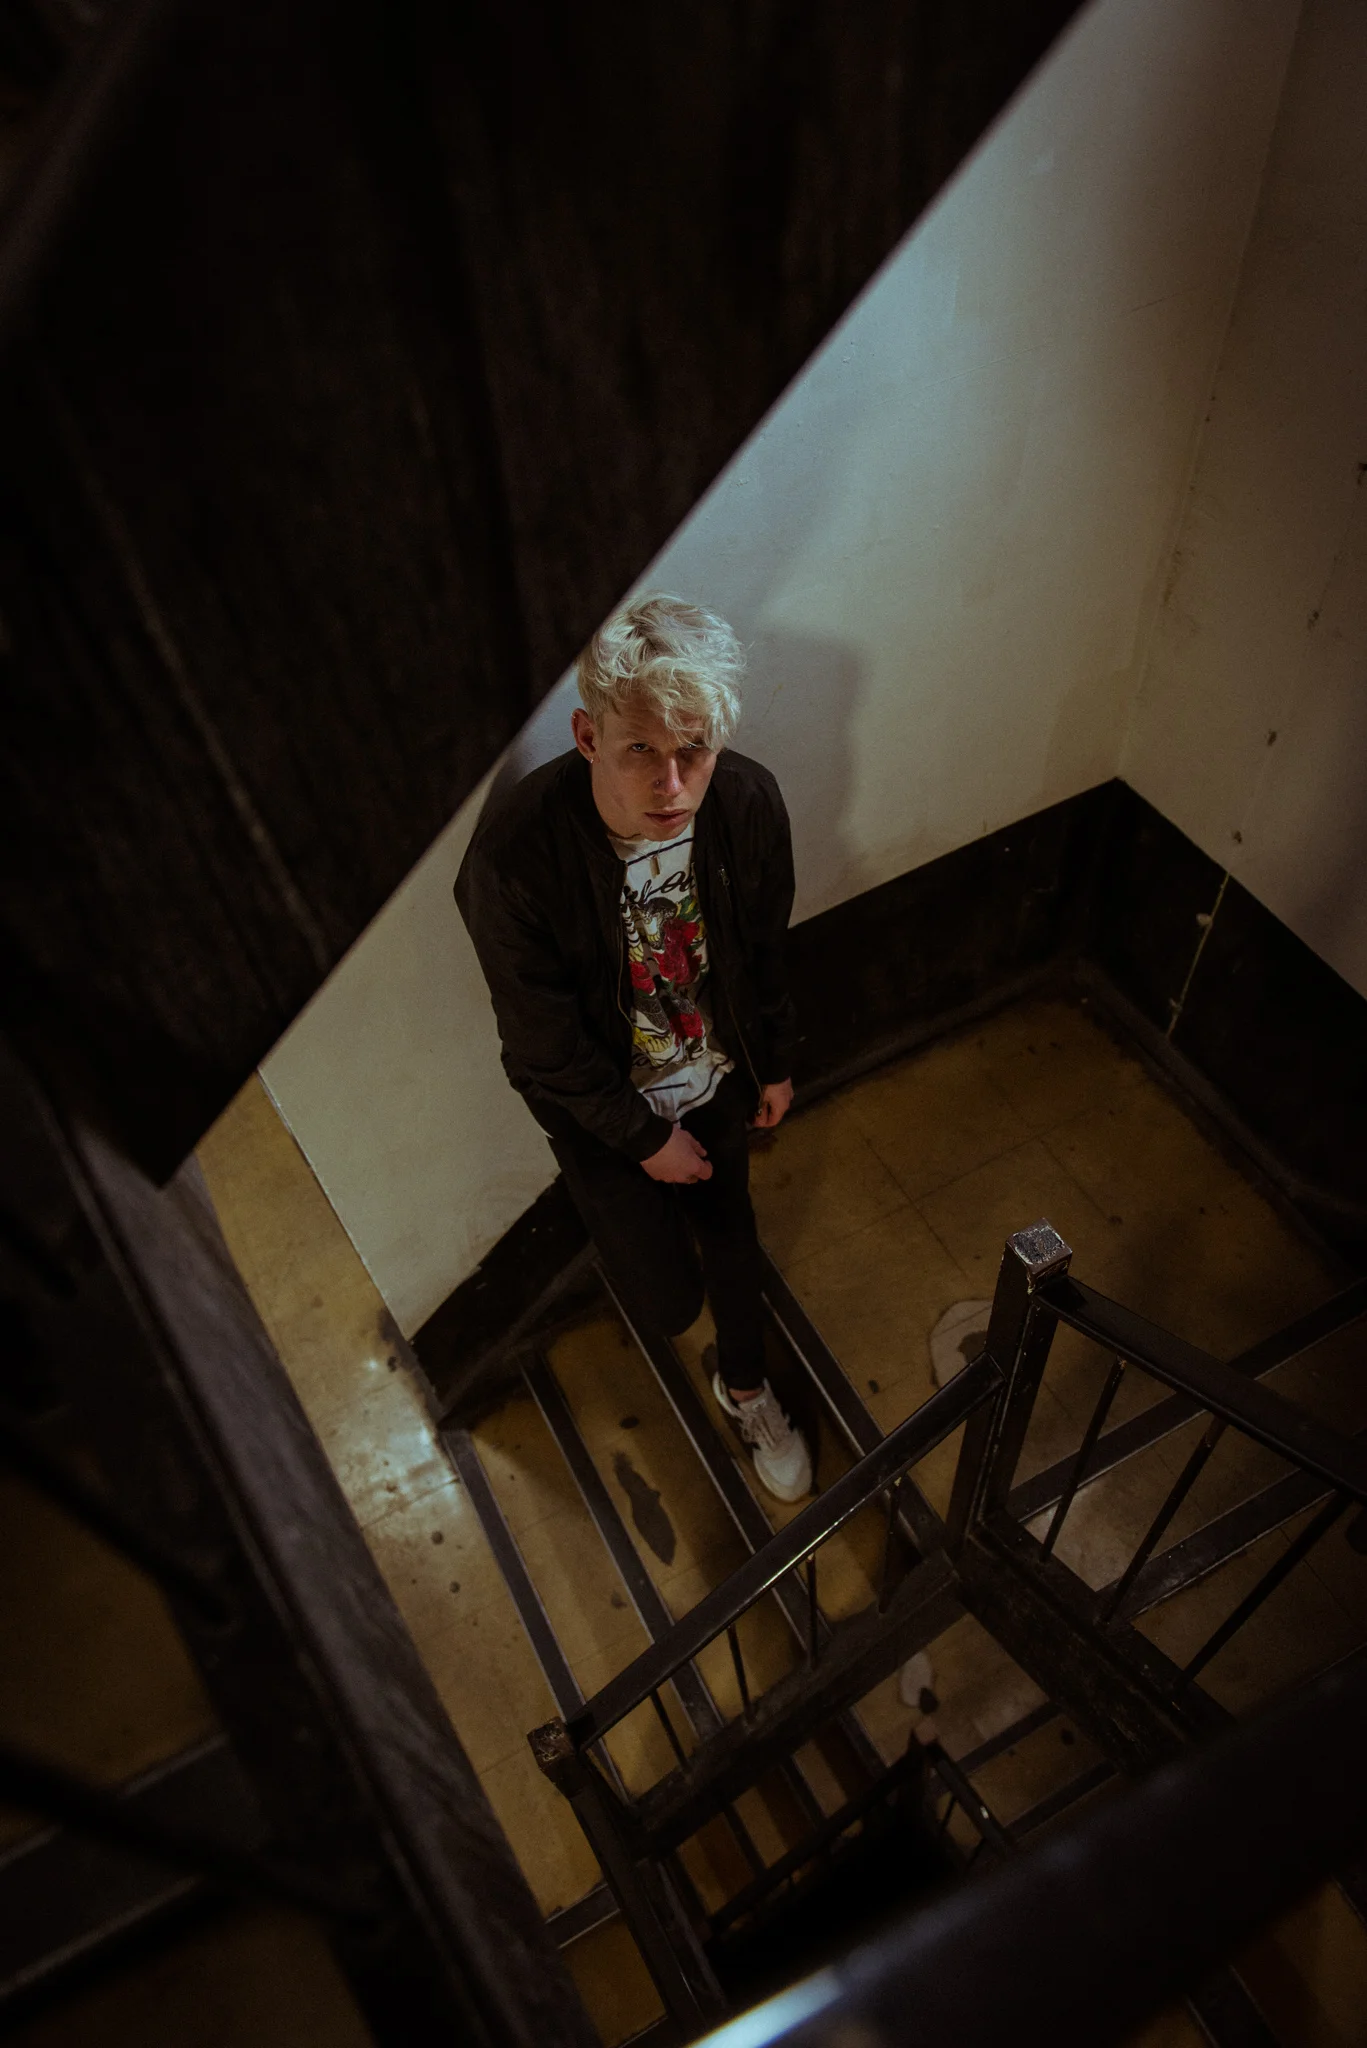
Shooting from different vantage points provides an interesting and fresh perspective to your photos. This is not just limited to landscape photography. Portraits, fashion, photojournalism, and wildlife photographs can benefit from a different perspective. If you're looking to create a certain mood or atmosphere in the photo, you should decide carefully whether to shoot from a low angle or a high angle. The effects of a low angle shot empowers the subject, and a high angle adds a sense of vulnerability. For example, when Superman is on a ledge - he's often shown from a low angle perspective to emphasise his power.

Here are some examples of different vantage points.

Shot from the Shard, example of a High Vantage Point

Shot from the Shard, example of a High Vantage Point

Shot in Canary Wharf, example of a Low Vantage Point

Shot in Canary Wharf, example of a Low Vantage Point

Sephora, example of a Low Vantage Point

Sephora, example of a Low Vantage Point

Huntar, example of a High Vantage Point

Huntar, example of a High Vantage Point


Let me know in the comments below what techniques you would like me to explore next.